Bringing ideas to life. · 5 Steps · 5 minutes Read
Feedback and sharing
Comments are intended for casual communication, while suggestions convey proposals from experts or consultants. Ideas should be understood by referencing 2D/3D views and location markers, followed by feedback from the author.
App tutorial cover. See the article for requirements and steps.
Steps 01
Check progress under "Suggestions"
Switch to the "Suggestions" tab within the post details to view the status of your requests and any proposals received; these are displayed separately from standard comments.
1
Check the status of the invitation.
Check the status of sent requests.
2
Open the suggestions list
When there are pending suggestions, the author can choose to "Accept Suggestion" or mark it as "Not Suitable."
12 Tap to enlarge; the numbers in the image correspond to the operating instructions.
Steps 02
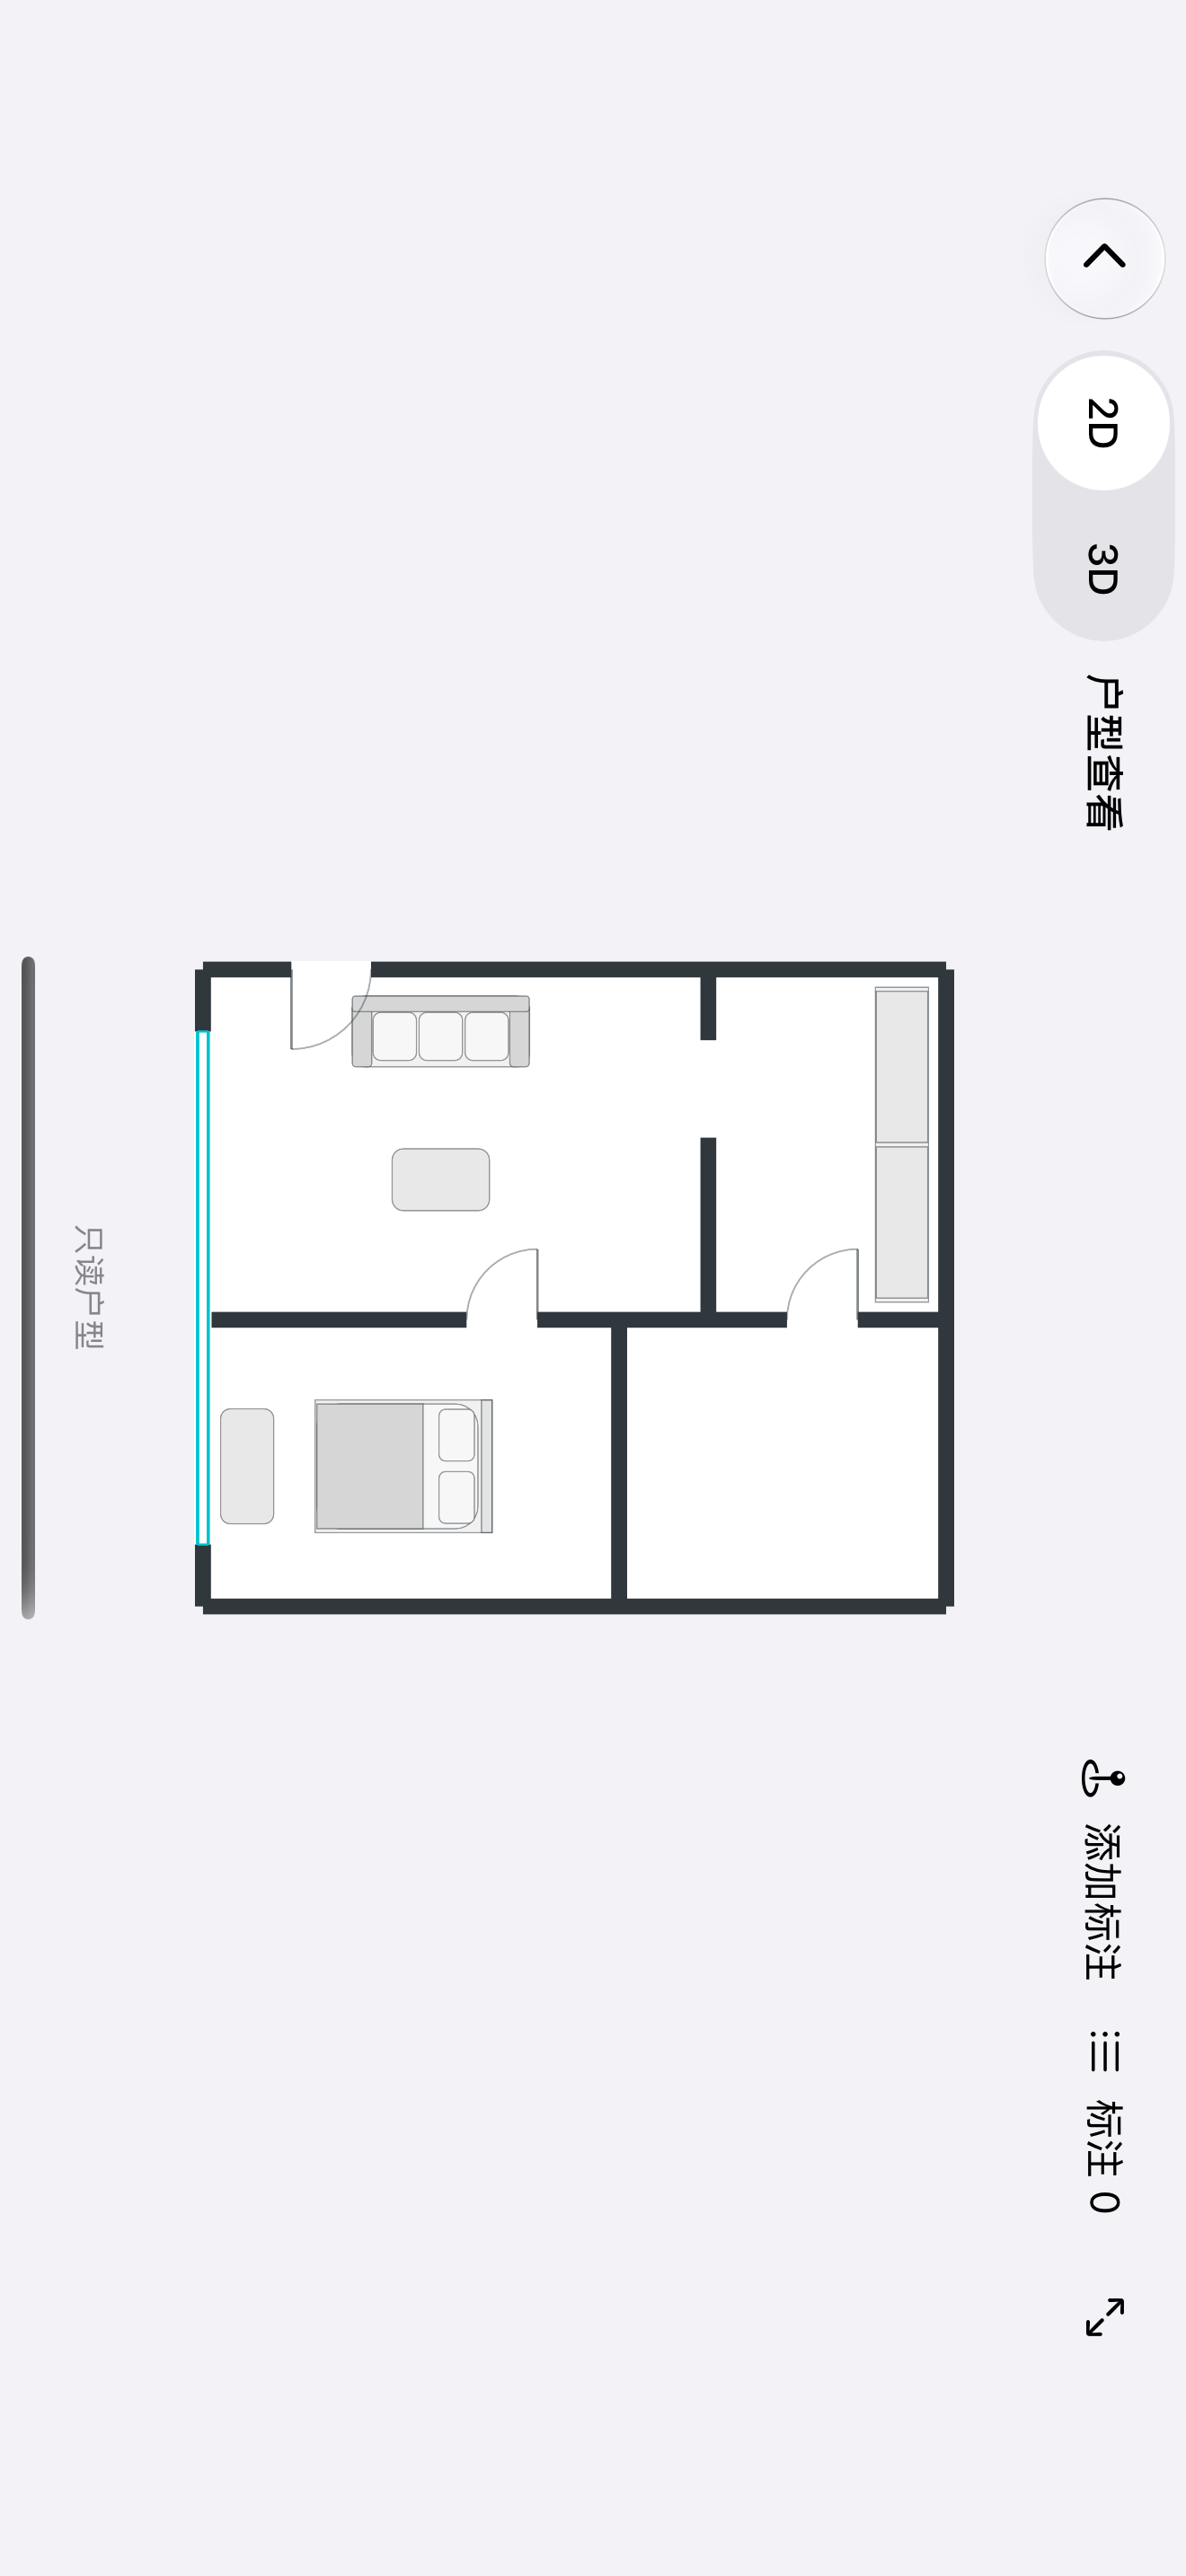
Switch to 2D view to clearly see specific locations.
Access the "View 2D/3D" feature from a post, then rotate your phone to landscape mode or tap the rotation prompt. First, observe the spatial relationships on the 2D plan, then understand the specific locations indicated by the annotations.
1
Switch views.
Switch views between 2D and 3D modes using the controls at the top.
2
Add Location Marker
Place your ideas in the corresponding areas within the 2D view.
3
Fit to canvas
After zooming, you can recenter the entire floor plan in your view.
123 Tap to enlarge; the numbers in the image correspond to the operating instructions.
Steps 03
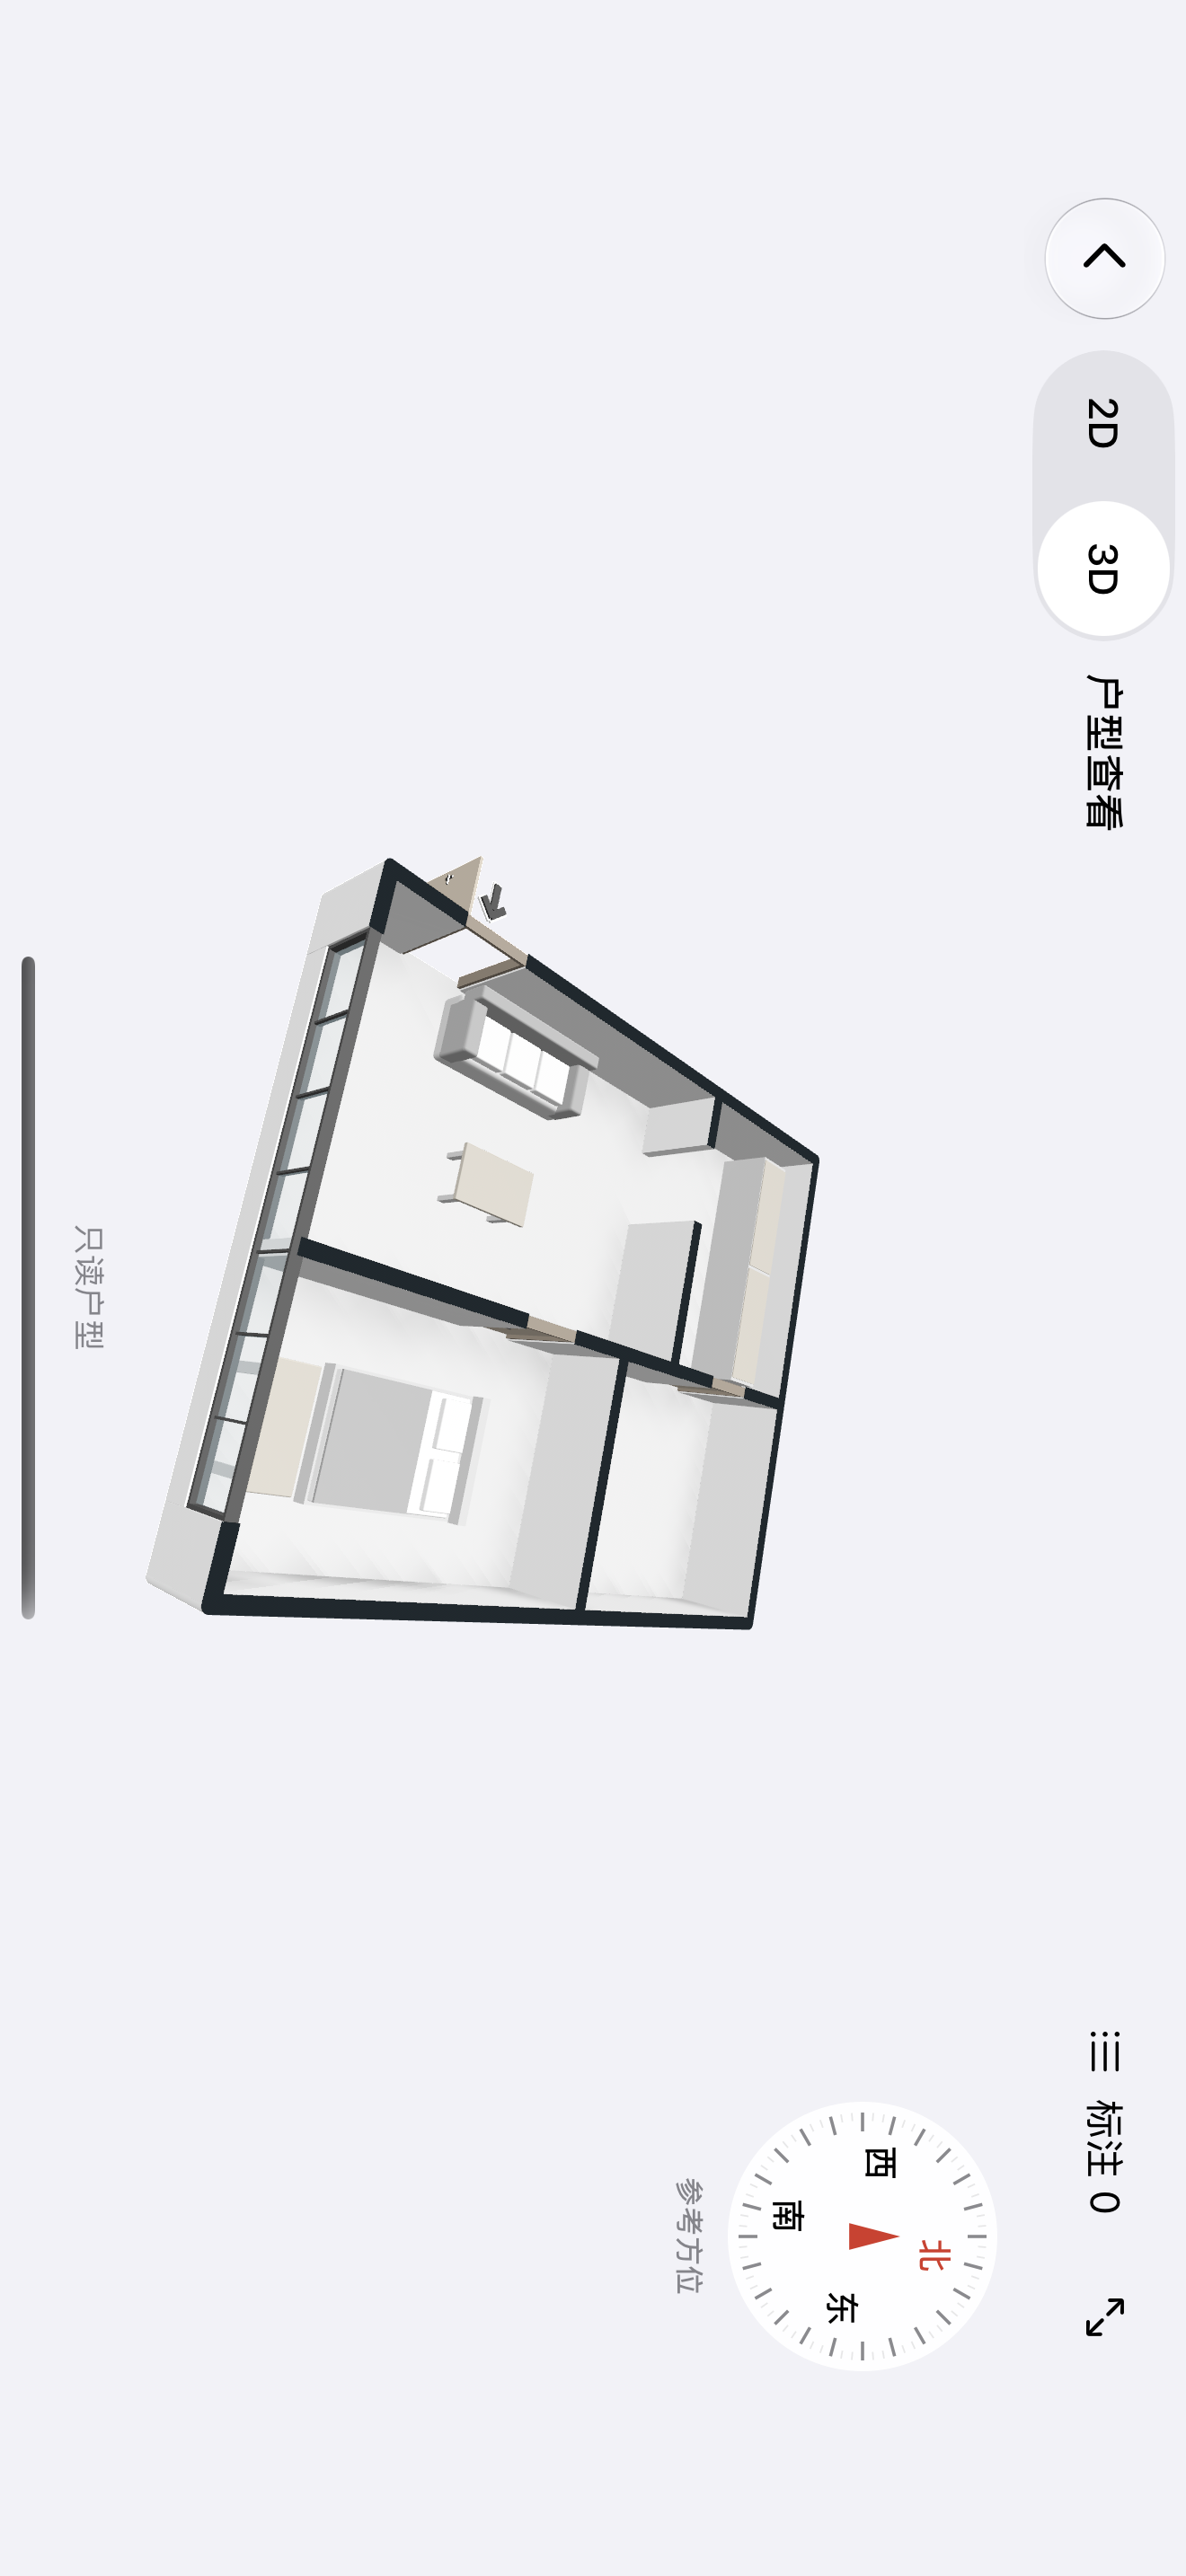
Switch to 3D view to understand spatial relationships
Rotate, pan, or zoom the model to view the layout from different angles. Evaluate suggestions by referencing the floor plan rather than relying on a single perspective.
1
Return to Floor Plan
Switch back to 2D view at any time to compare positions between rooms.
1 Tap to enlarge; the numbers in the image correspond to the operating instructions.
Steps 04
Ensuring every idea has its own space,
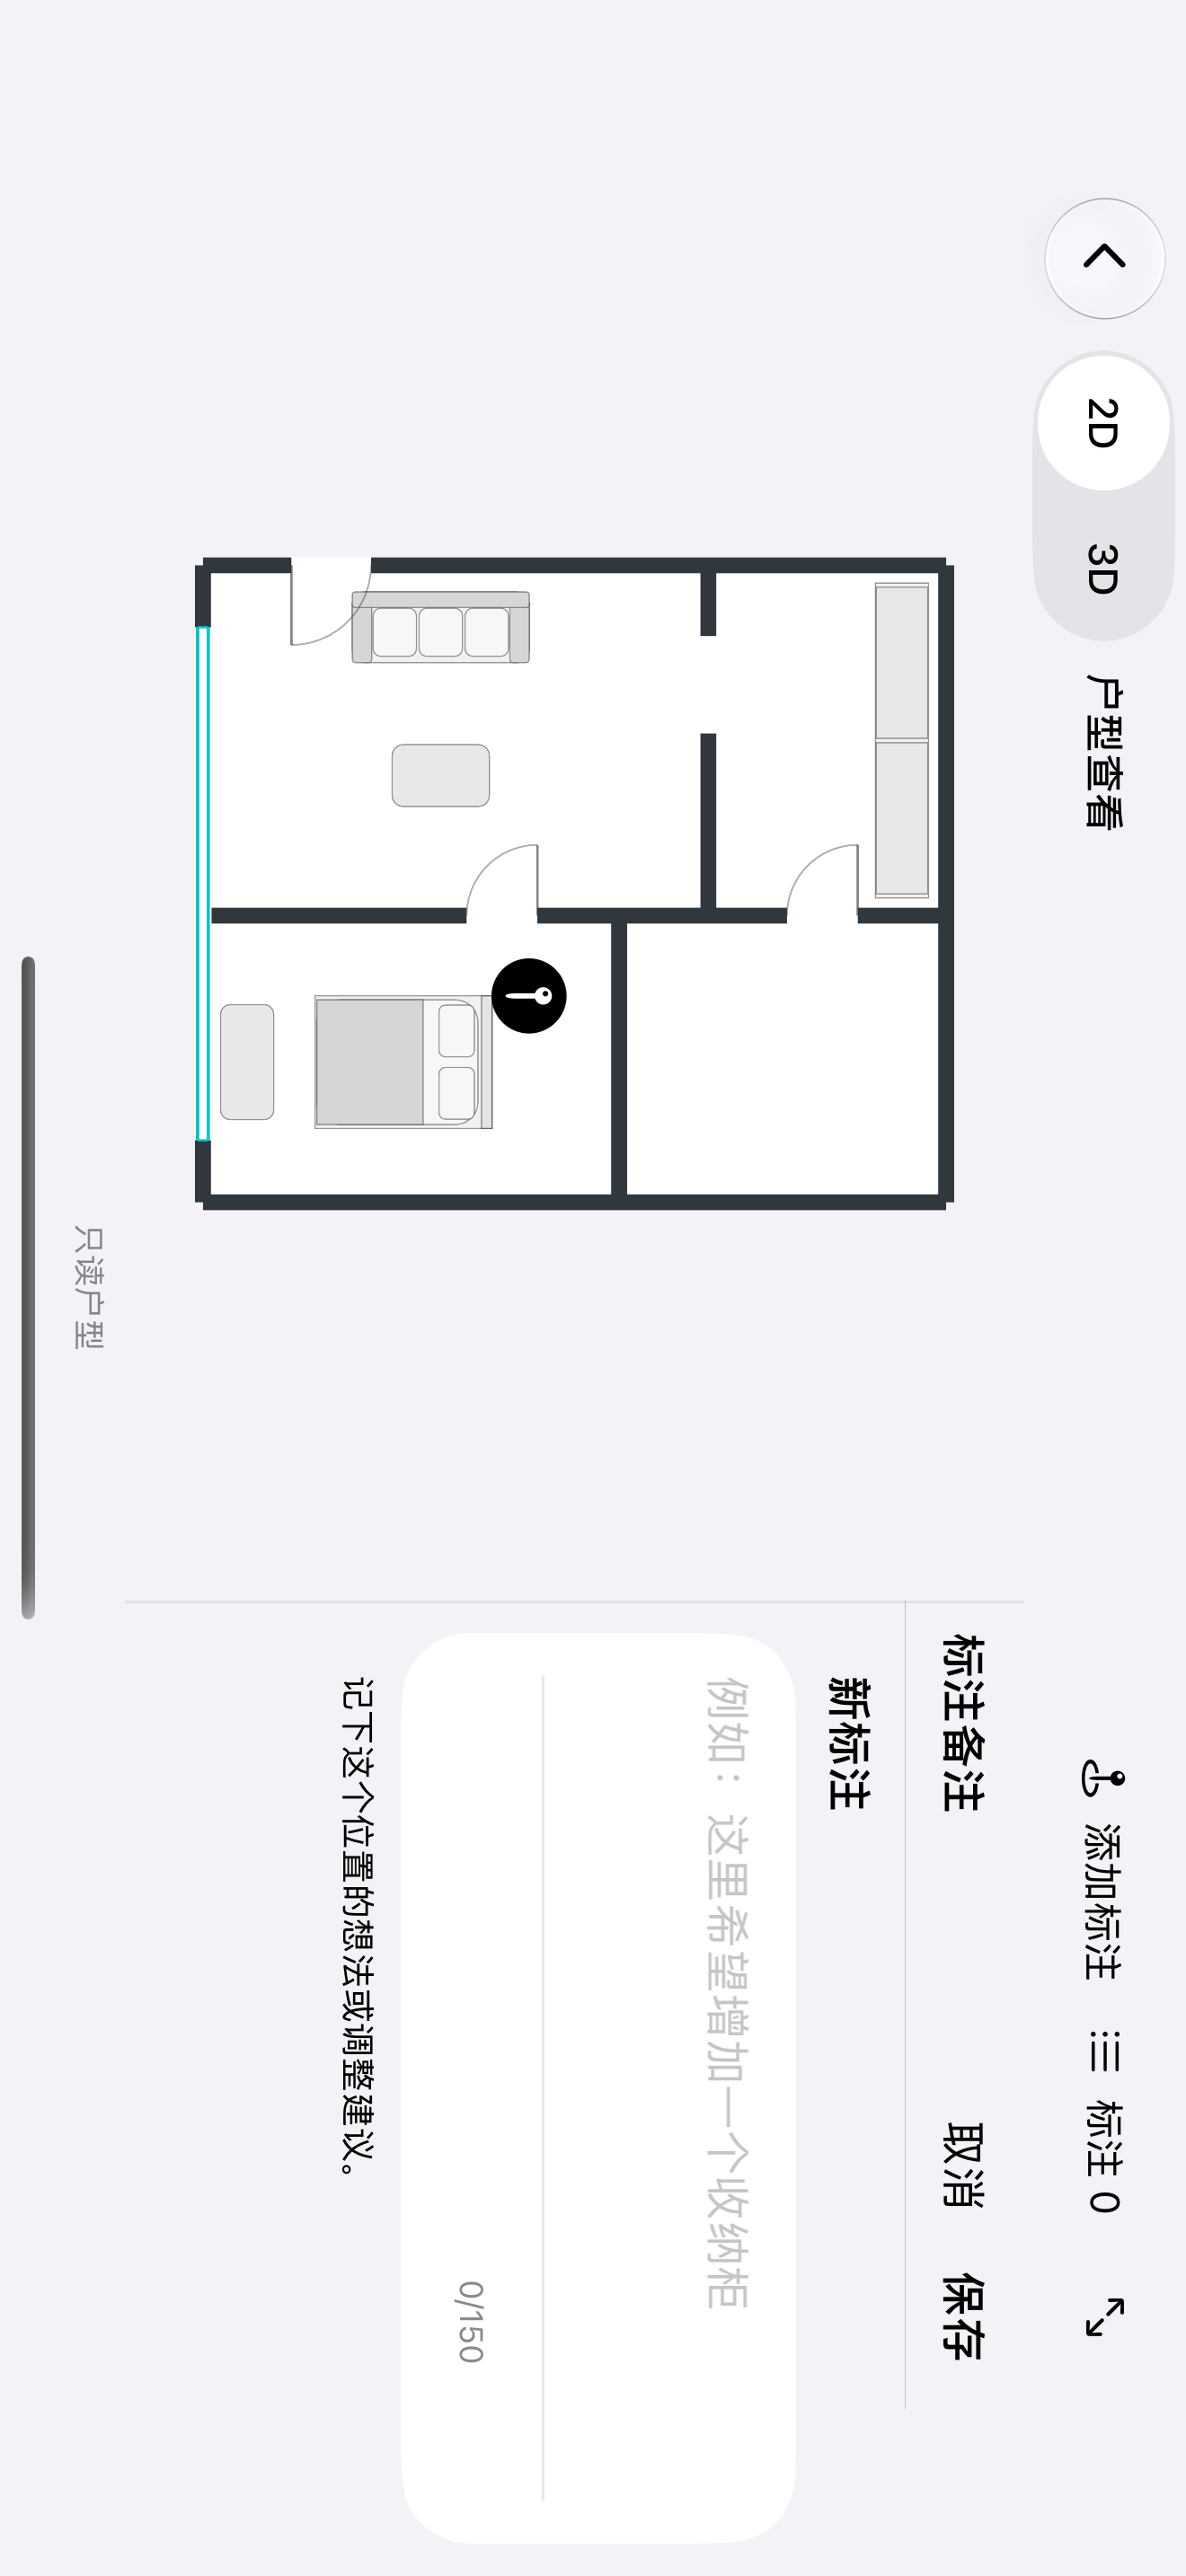
In the 2D view, click "Add Annotation," select the desired location, and enter notes in the right-hand panel. When viewing annotations attached to suggestions, you can also navigate to the specific location on the canvas to read them.
1
Select location
Place the marker on the specific area you wish to discuss.
2
Write a note
Briefly describe your idea (max. 150 characters).
3
Save annotations
Check the location and text, then click Save.
123 Tap to enlarge; the numbers in the image correspond to the operating instructions.
Steps 05
Share the space with friends
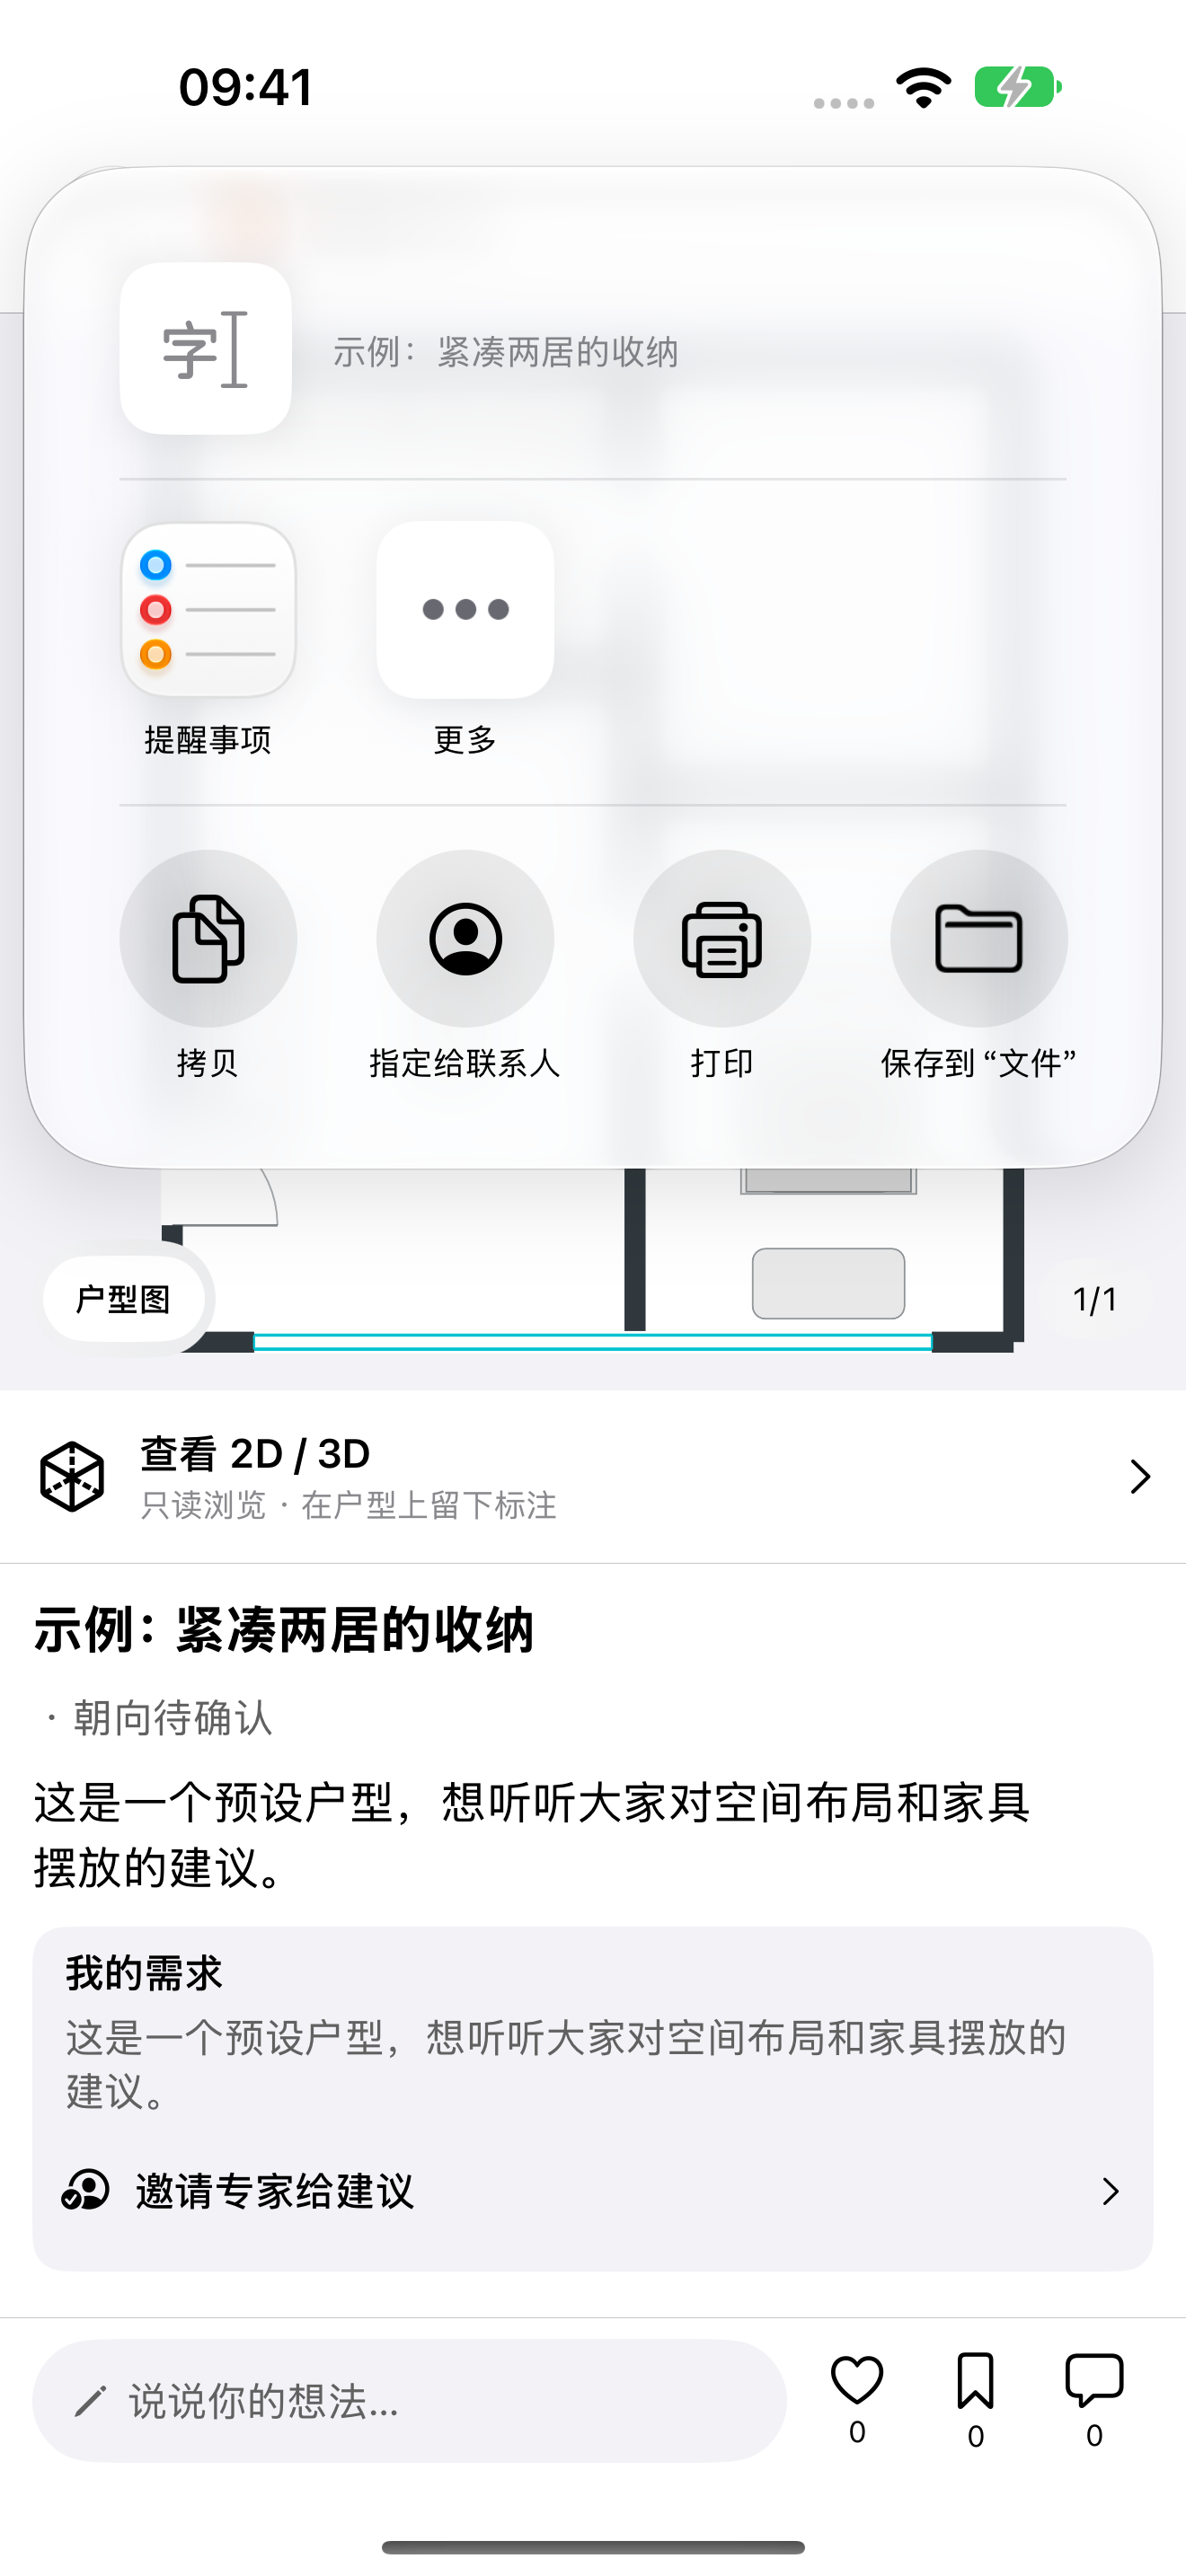
Open the iOS system sharing panel via the "Share" option found in the "..." menu at the top-right corner of the post.
1
Choose a sharing method
Tap the target app, or select "More" to view other options.
2
Copy content
You can also use options provided by the system, such as "Copy."
12 Tap to enlarge; the numbers in the image correspond to the operating instructions.